Jira Integration
Introduction
Section titled “Introduction”Integrating TestCLIX with Jira allows automatic creation of Jira issues whenever a test transitions to the Error status. It ensures that failures are immediately tracked in your project board, reducing response times and improving visibility.
What You Get
Section titled “What You Get”- Automatic issue creation in your Jira project when a test fails.
- Duplicate prevention – only one open issue per test at a time.
- Configurable project, issue type, labels, and assignee.
- Per-test overrides to route issues to different projects or assignees.
Connecting to Jira
Section titled “Connecting to Jira”The Jira integration uses an Atlassian service account with OAuth 2.0 credentials. This requires creating a service account in Atlassian Admin before connecting in TestCLIX.
Step 1: Create a Service Account
Section titled “Step 1: Create a Service Account”-
Go to Atlassian Admin.
-
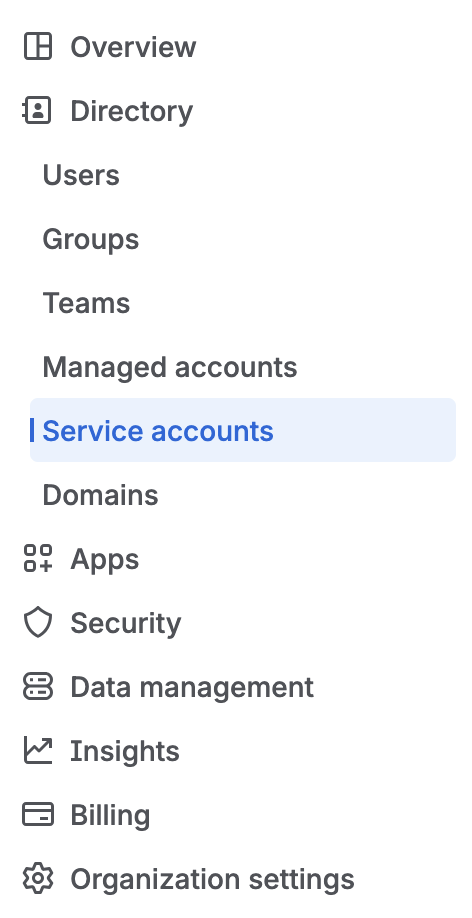
In the left sidebar, navigate to Directory → Service accounts.
-
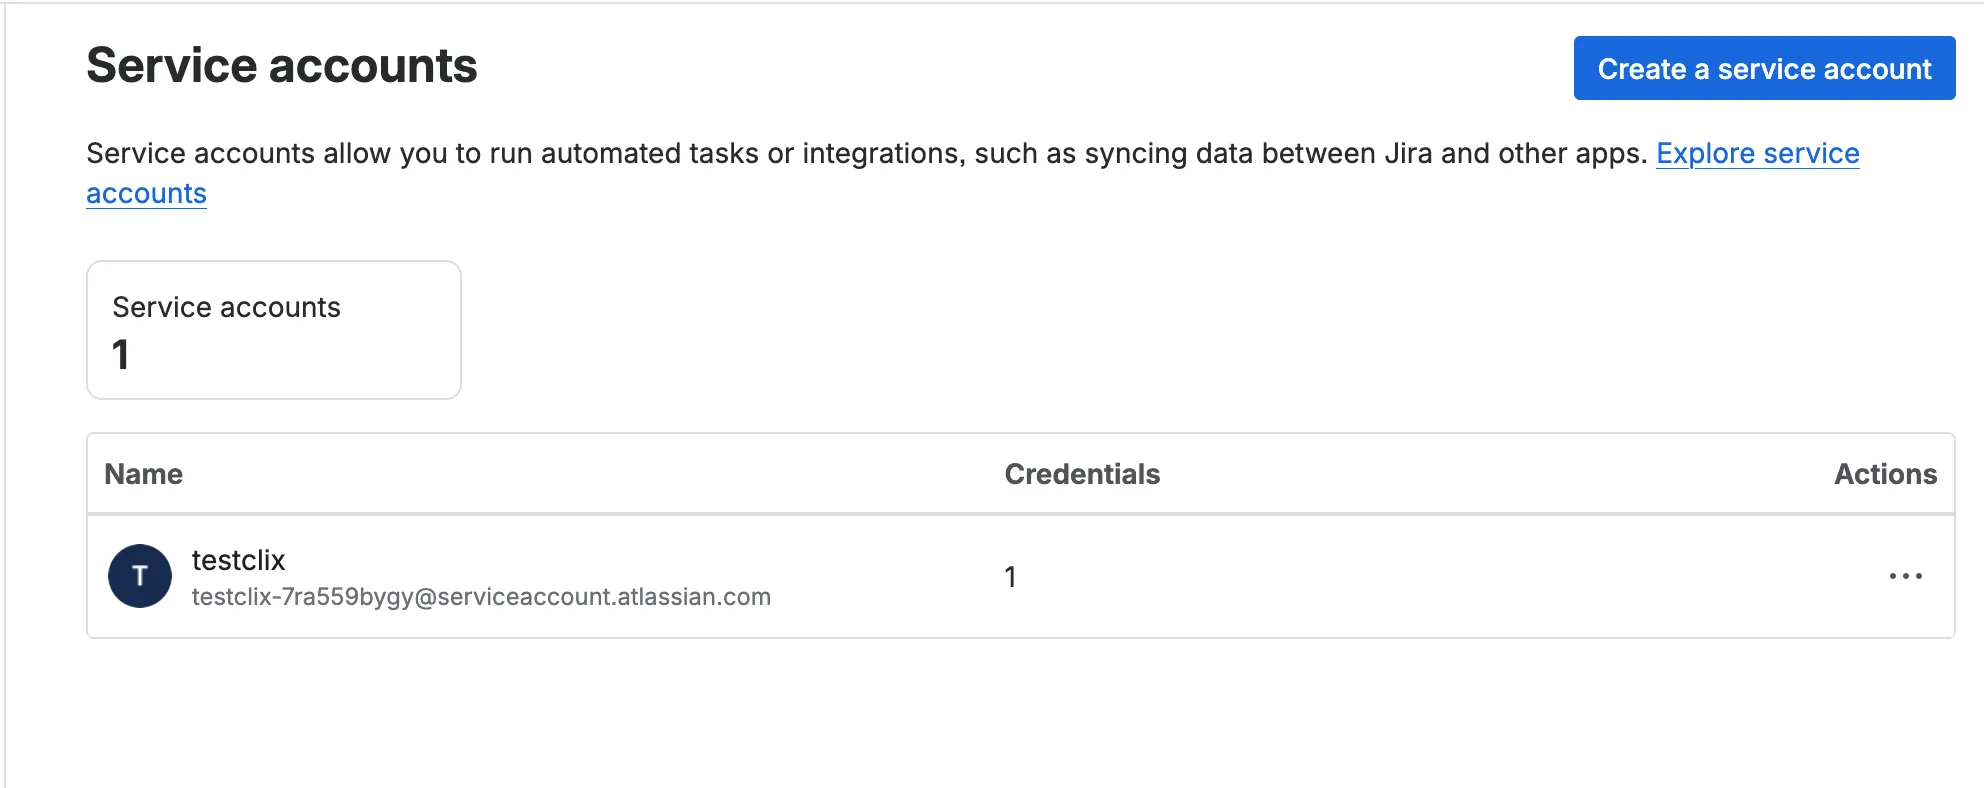
Click Create service account.
-
Fill in the Name (e.g.
testclix) and optionally a Description. -
Select which Jira instances the service account should have access to. User access is sufficient.
Step 2: Create OAuth 2.0 Credentials
Section titled “Step 2: Create OAuth 2.0 Credentials”-
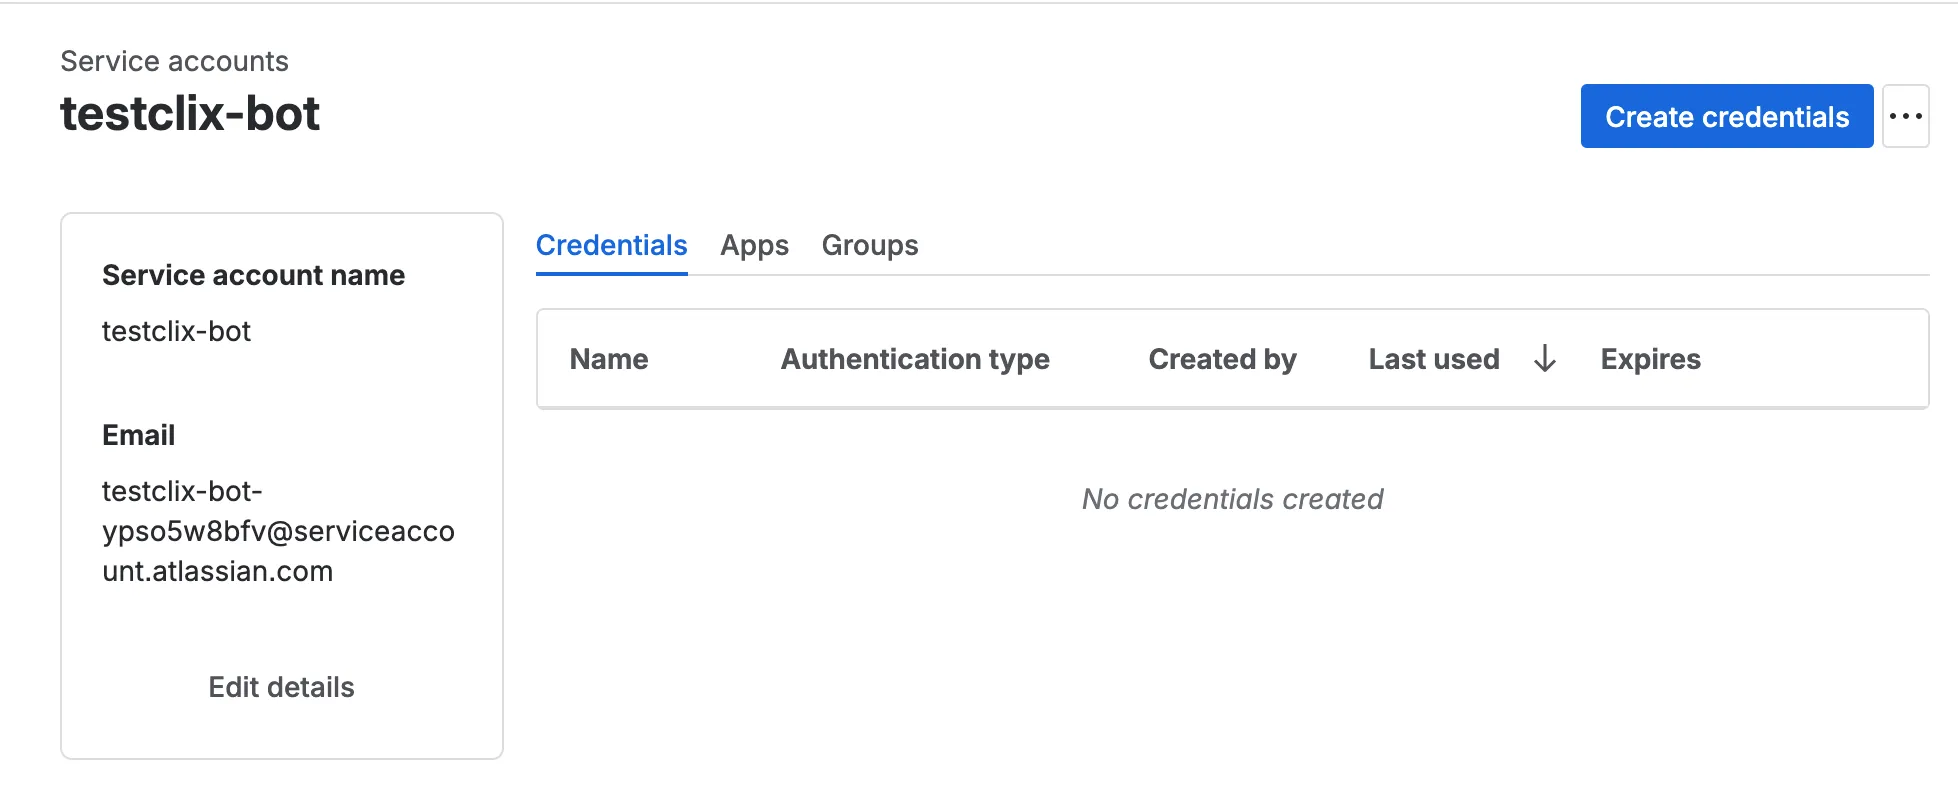
Open the newly created service account page.
-
Click Create credentials.
-
Select OAuth 2.0.
-
Provide a name for the credential (e.g.
TestCLIXAPIKey). -
Click Next and grant the following permissions:
read:jira-work– read projects and issues, used for duplicate detection.write:jira-work– create Jira issues on test failure.read:jira-user– search users for the assignee picker.
-
Click Next to review the credentials, then click Create.
-
The Client ID and Client Secret will appear on the screen. Copy and store them securely.
Step 3: Connect Jira in TestCLIX
Section titled “Step 3: Connect Jira in TestCLIX”-
Open Settings from the left sidebar menu, then select the Integrations tab.
-
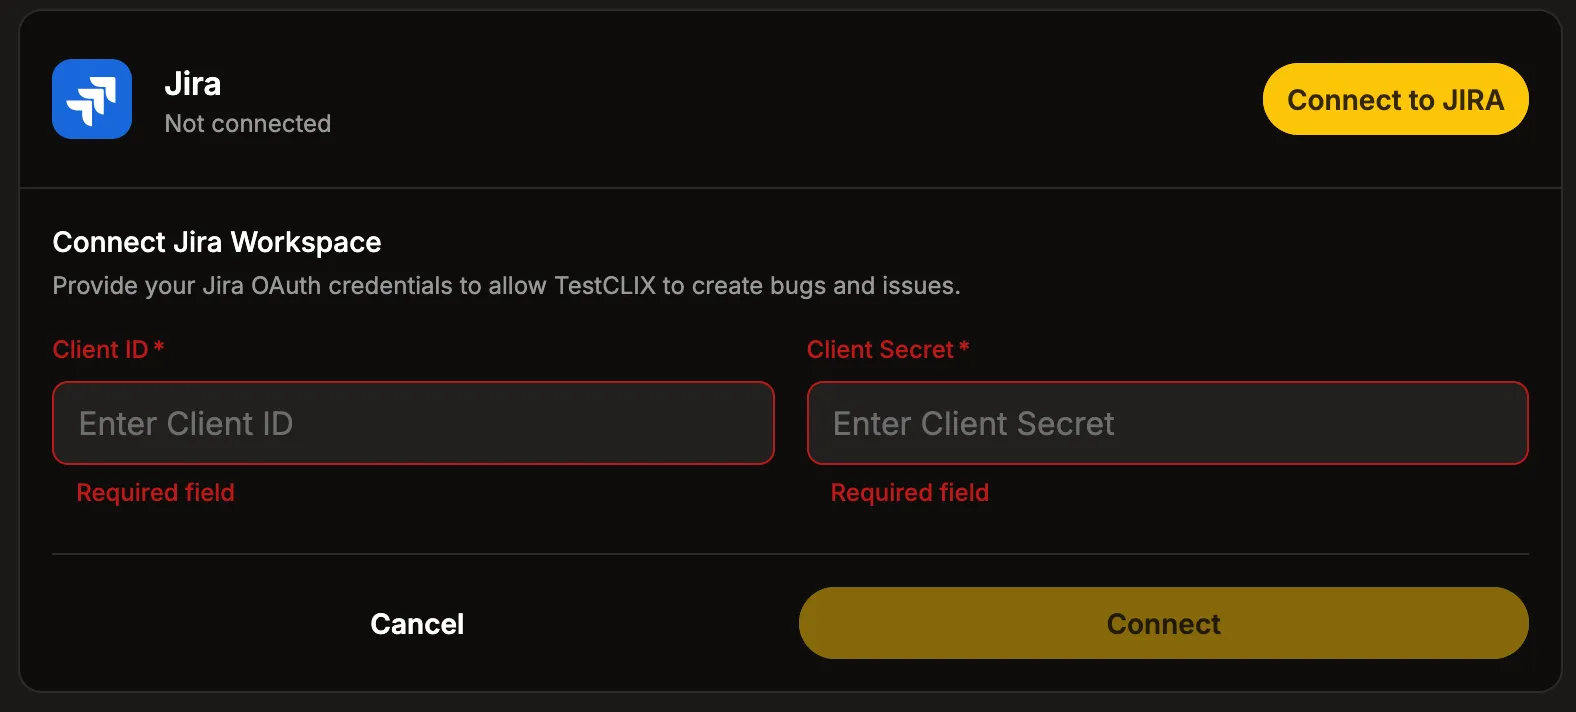
Click Connect Jira. A dialog will ask for the Client ID and Client Secret from the previous step.
-
Click Connect. TestCLIX validates the credentials and discovers your Jira site automatically.
-
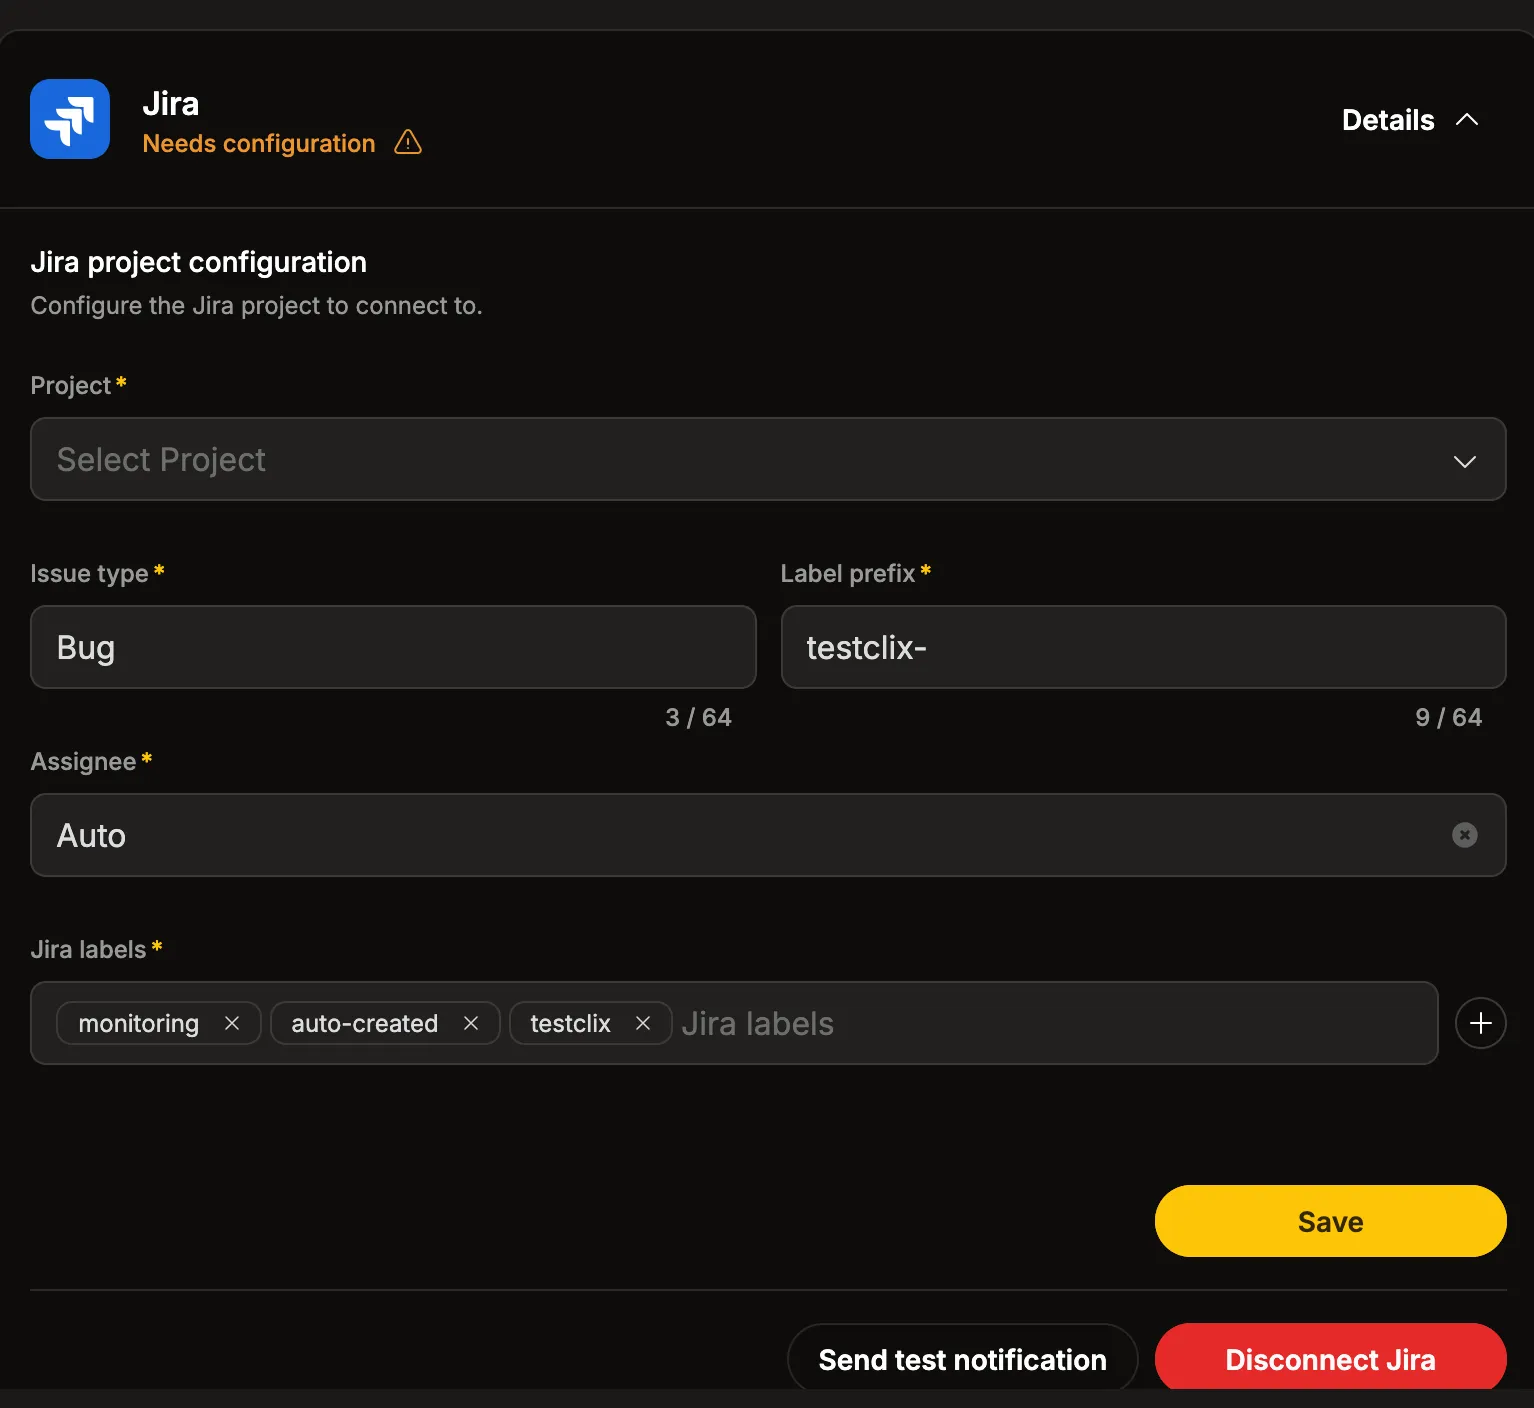
If the connection is successful, the Jira configuration panel is displayed.
-
Select the Project in which issues should be created. The project list is loaded automatically from Jira. If the projects are not listed, the permissions in Step 2 were incorrectly configured – please revisit the OAuth 2.0 permissions.
-
Click Save to complete the connection.
-
Click Send test notification to verify the integration. A test ticket should appear in your Jira project. If something is misconfigured, an error will be reported.
Configuring the Integration
Section titled “Configuring the Integration”Once connected, you can further customize how Jira issues are created.
Issue Type
Section titled “Issue Type”The default issue type is Bug, but your project might not use it. Select a different issue type if needed.
Label Prefix
Section titled “Label Prefix”A prefix used to generate a test-specific label (e.g. testclix-), which is combined with the test ID for duplicate detection.
Assignee
Section titled “Assignee”Control who gets assigned to created issues. The default value is Auto, which uses the Jira project’s default assignee. To assign issues to a specific person, select a user from the dropdown list. The list of users is loaded from Jira.
Labels
Section titled “Labels”Optionally configure additional labels that will be added to every created issue.
Saving and Testing
Section titled “Saving and Testing”After configuring the integration, click Save to apply the settings. To verify the integration is working correctly, click Send test notification – this will create a test ticket in your Jira project or report an error if something goes wrong.
Disconnecting Jira
Section titled “Disconnecting Jira”If Jira issue creation is no longer needed, the integration can be safely removed at any time.
- Open the Jira integration details in the Integrations tab.
- Click the Disconnect Jira button.
- Once disconnected, no further Jira issues will be created.
Jira Issue Format
Section titled “Jira Issue Format”When a test fails, the created issue contains:
- Summary:
Test Failed: {test_name} - Description: Error message with a link to the test in TestCLIX.
- Labels: Configured labels plus a test-specific label for duplicate detection.
- Reporter: The service account.
- Assignee: Based on the configured assignee mode.
Per-Test Overrides
Section titled “Per-Test Overrides”Individual tests can override the global Jira settings. This option is only available when editing an existing test, not during creation.
-
Navigate to Workspace using the left sidebar menu.
-
Locate the test you want to modify.
-
Click … on the right side of the window and select Customize jira settings.
-
Adjust the settings as needed:
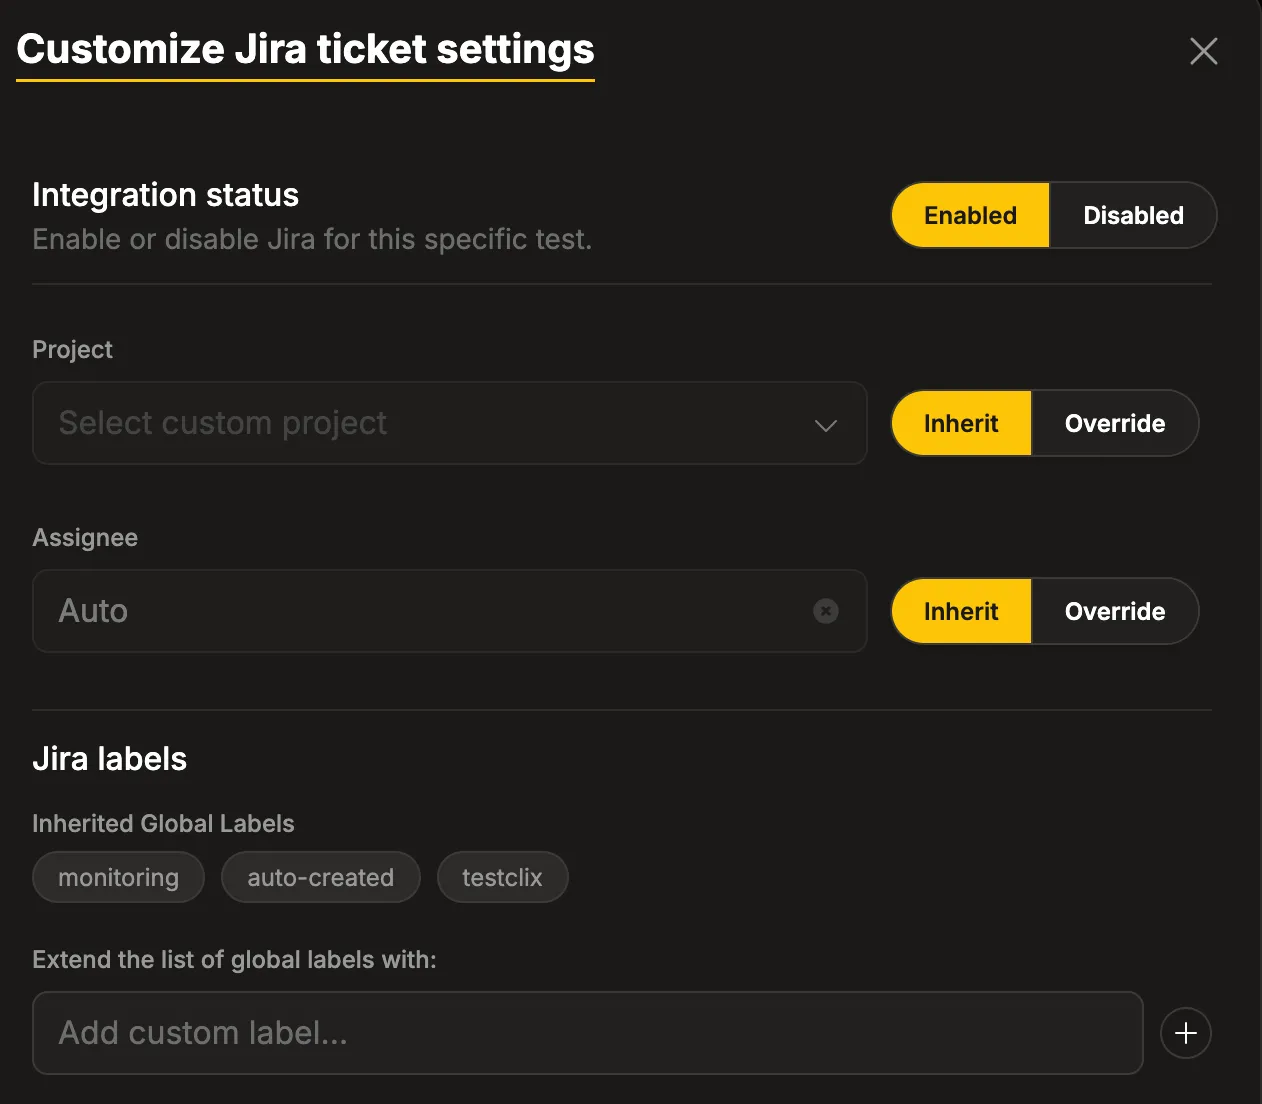
- Integration status – disable Jira issue creation for this specific test.
- Project – override the global project.
- Assignee – override the assignee (Auto or a specific user).
- Jira labels – add additional labels for this test. These are added on top of the global labels, not replacing them.
Duplicate Prevention
Section titled “Duplicate Prevention”TestCLIX checks for existing open Jira issues before creating a new one. If an open issue with the matching test label already exists, creation is skipped.
This means a test can keep failing without flooding Jira – only one issue per test exists at a time. Once the existing issue is moved to a Done status (e.g. Closed, Resolved), the next failure will create a new issue.